Why Your Running Toilet is Costing You Money (And How to Fix It)
Toilet flapper replacement is one of the simplest DIY plumbing repairs that can save you hundreds of dollars in wasted water costs. If your toilet keeps running after you flush, makes random gurgling sounds, or seems to “flush itself,” a worn-out flapper is likely the culprit.
Quick Answer: How to Replace a Toilet Flapper
- Turn off water at the shutoff valve behind the toilet
- Flush and drain the tank completely
- Remove old flapper by unhooking it from the flush valve
- Install new flapper by clipping it onto the valve pegs
- Attach chain to flush lever with 1/2 inch of slack
- Turn water back on and test the flush
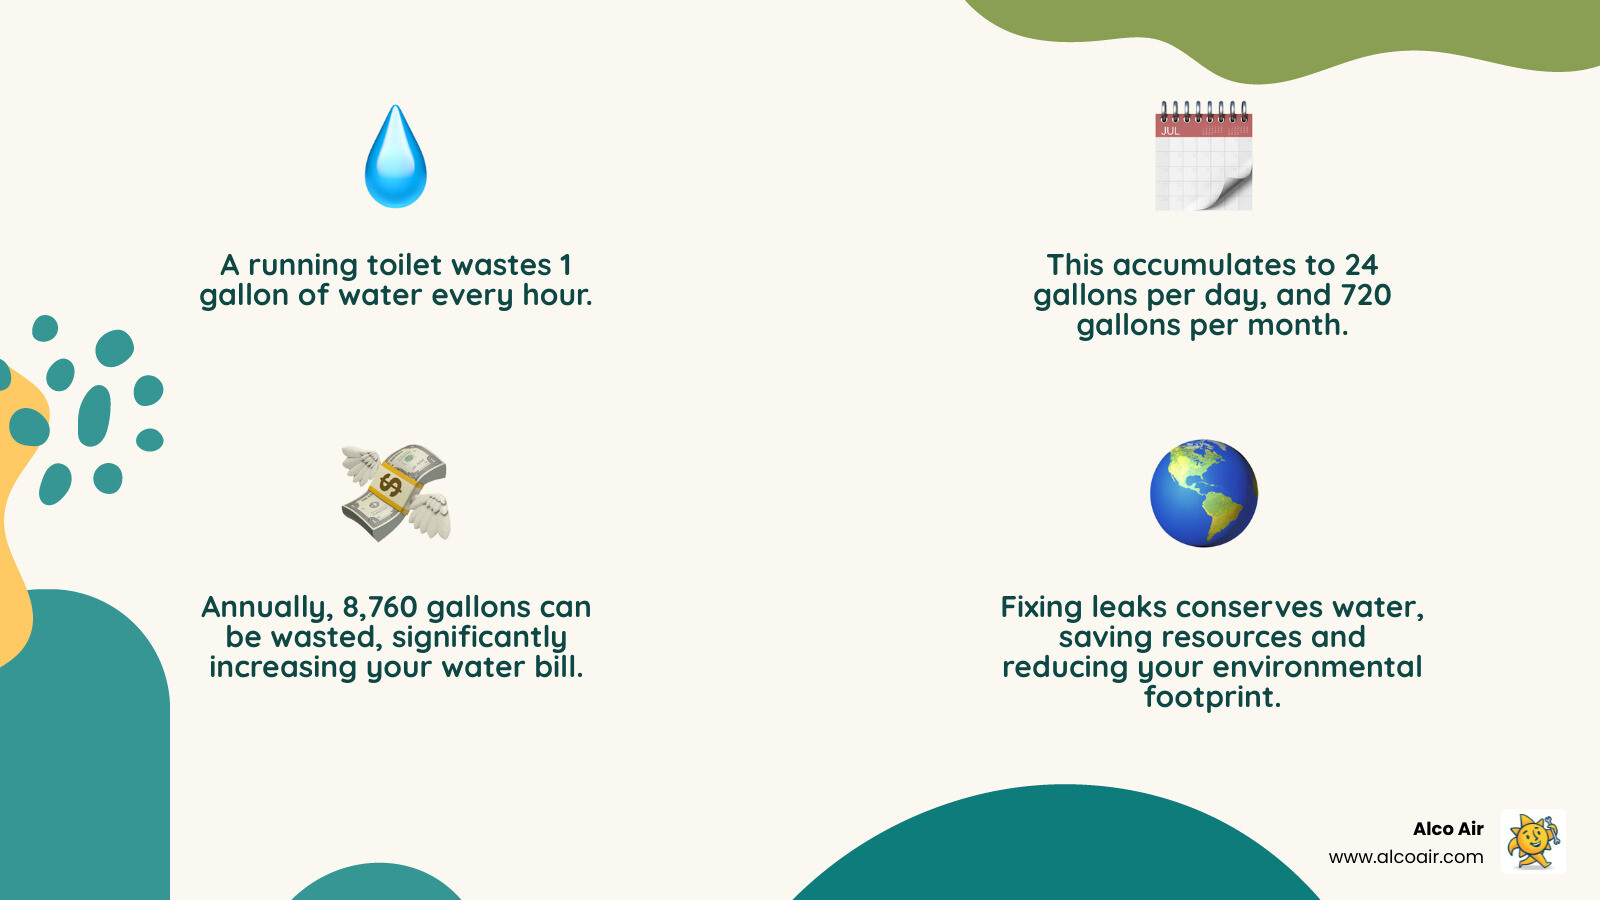
According to plumbing experts, toilet flappers are the leading cause of leaking or running toilets. When this rubber seal fails to close properly over the flush valve, water continuously flows from your tank into the bowl. A single running toilet can waste hundreds of gallons of water if not addressed quickly.
The good news? This repair typically takes just 15-20 minutes and requires no special plumbing experience. Most homeowners can complete this fix with basic tools and a replacement flapper that costs under $20.
In this guide, we’ll walk you through everything you need to know about identifying flapper problems, choosing the right replacement, and completing the installation yourself. You’ll also learn maintenance tips to help your new flapper last longer and when it’s time to call in the professionals.
What is a Toilet Flapper and Why Does it Fail?
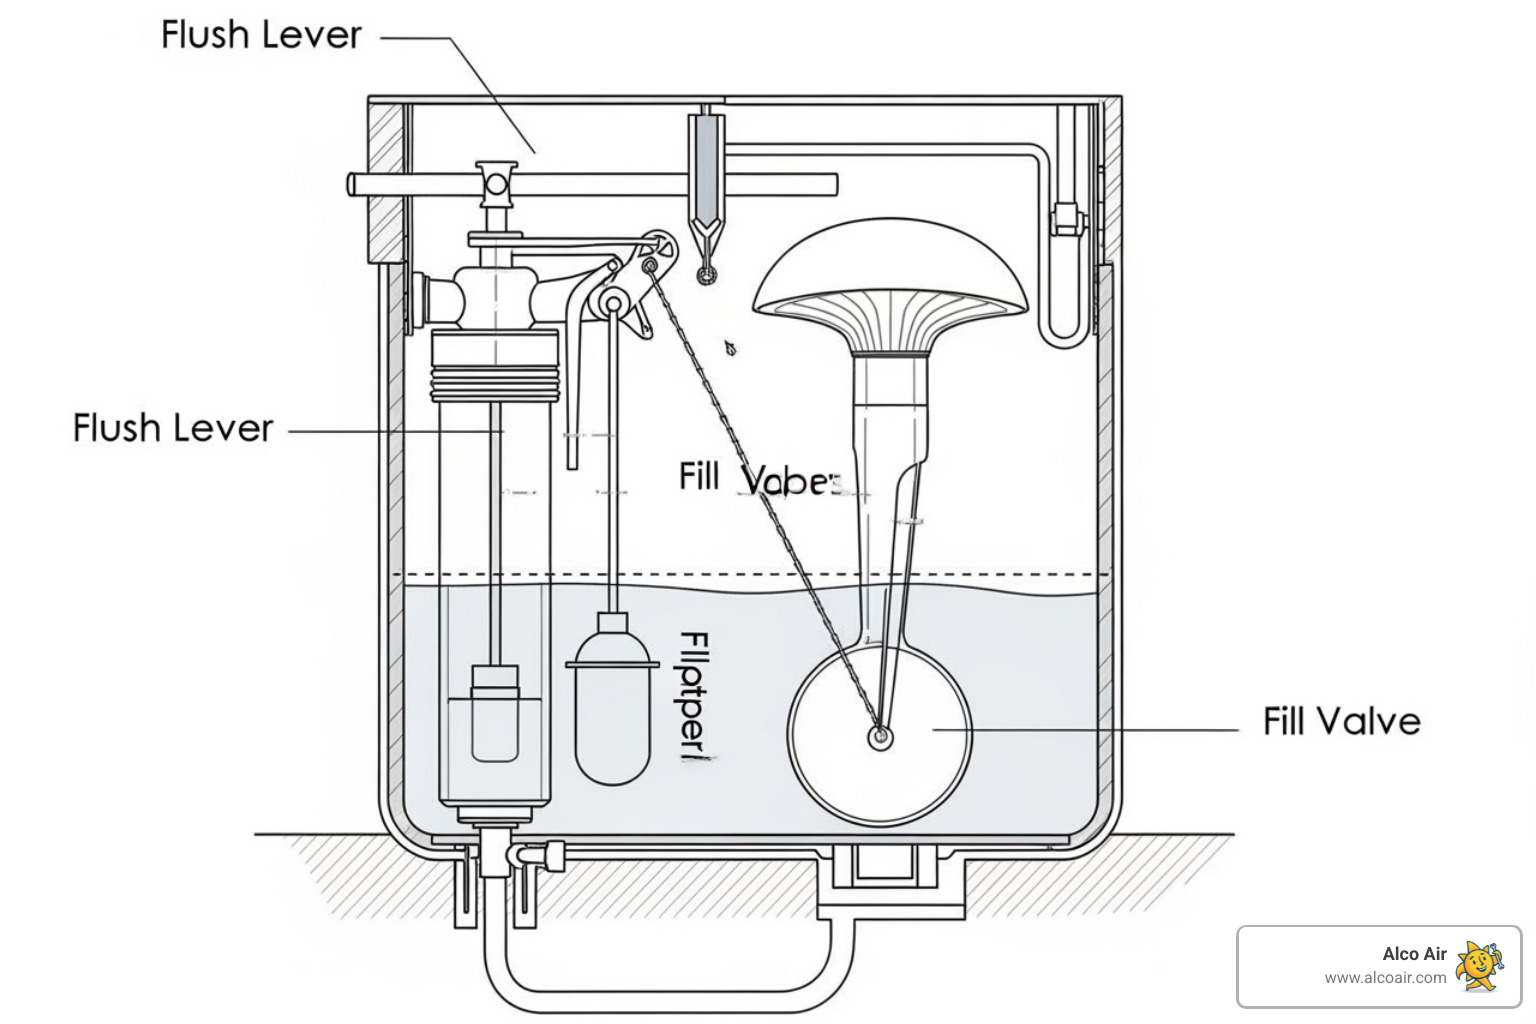
Think of your toilet flapper as the gatekeeper of your toilet tank. This simple rubber or plastic seal sits at the bottom of your tank, covering the flush valve like a lid on a jar. When you press the handle, the flapper lifts up, releasing water into the bowl for your flush. Once the water drains out, gravity pulls the flapper back down to seal the tank again.
It’s a pretty straightforward job, but like any hardworking component, flappers don’t last forever.
How do you know when your flapper is calling it quits? The signs are usually pretty obvious once you know what to look for.
The most telltale sign is ghost flushing – that mysterious sound of your toilet refilling itself when nobody’s even in the bathroom. This happens because your flapper isn’t sealing properly anymore, so water slowly leaks from the tank into the bowl. Your toilet thinks it needs more water and automatically refills itself.
You might also notice a weak flush that doesn’t clear the bowl effectively, or find yourself holding the handle down longer to get a complete flush. This usually means your flapper isn’t lifting fully or staying open long enough.
Sometimes the problem is obvious when you peek inside the tank. Warped rubber that’s lost its original shape, brittle material that feels stiff or cracked, or visible damage around the edges all spell trouble for your toilet flapper replacement project.
Want to test if your flapper is leaking? Try the food coloring test – just add a few drops to your tank water and wait 15 minutes without flushing. If colored water shows up in your bowl, you’ve got a leak.
Why do flappers fail in the first place? Most of the time, it’s simply age and exposure. The constant contact with water, cleaning chemicals, and minerals gradually breaks down the rubber material. Some flappers get too soft and flexible, while others become hard and brittle. Either way, they lose their ability to create that crucial watertight seal.
If you’re dealing with persistent toilet issues, you might find it helpful to check out The 5 Most Common Causes of Toilet Leaks for additional troubleshooting tips.
Choosing the Correct Replacement Flapper
Here’s where many DIYers hit their first snag – grabbing the wrong flapper at the store. Don’t worry, it’s easier than you think once you know what to look for.
The most important factor is size. Most toilets use either a 2-inch flapper (common in older toilets from before 1994) or a 3-inch flapper (standard in newer, water-efficient models). The easiest way to figure out which you need? Measure the flush valve opening at the bottom of your tank, or better yet, bring your old flapper to the hardware store.
Universal flappers are a popular choice because they’re designed to work with multiple toilet types. Many come with adjustable features that let you fine-tune how much water gets released with each flush – great for saving water and money.
Adjustable flappers take this concept even further, with dials or floats that control how long the flapper stays open. This gives you precise control over your flush volume, which can really add up on your water bill over time.
When it comes to materials, look for flappers built to handle chlorine resistance and hard water resistance. Municipal water supplies often contain chlorine that can break down rubber over time, while hard water leaves mineral deposits that interfere with proper sealing. Investing in a quality flapper that resists both will save you from repeating this repair too soon.
Tools and Materials Needed
The beauty of this repair is its simplicity – you probably already have most of what you need around the house.
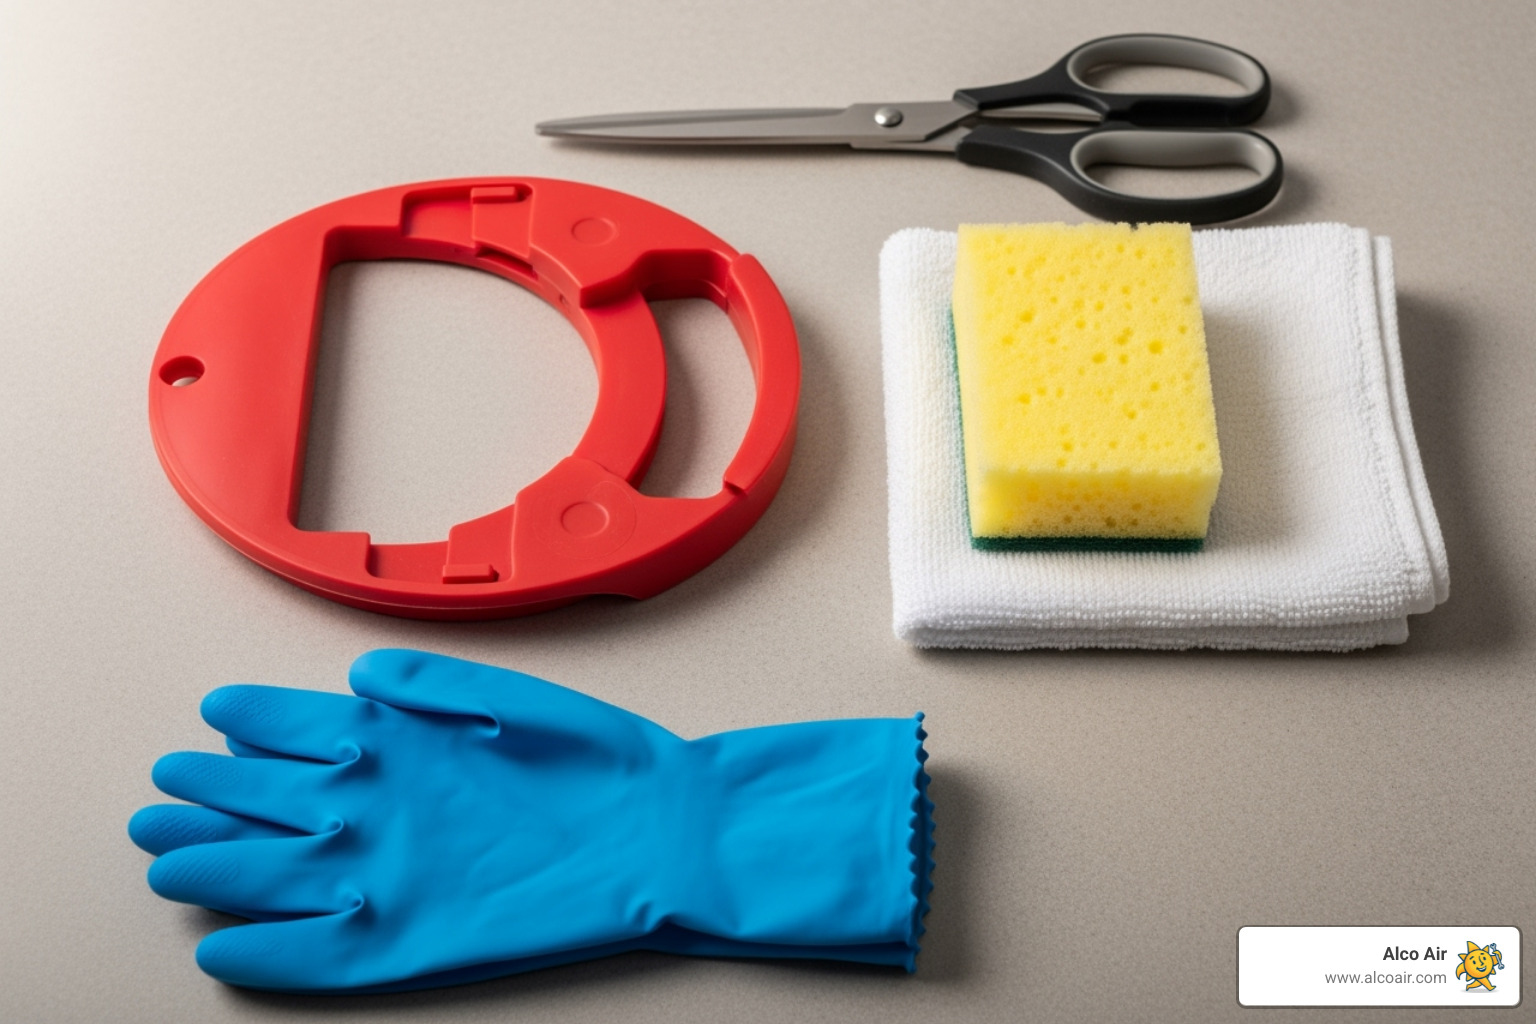
You’ll definitely need a new toilet flapper (make sure it’s the right size!), a sponge for soaking up tank water, and some towels or rags to keep things tidy. Scissors or wire cutters might come in handy if you need to adjust the chain length on your new flapper.
That’s really it! No special plumbing tools, no expensive equipment – just basic household items and your new flapper. This is definitely a DIY project that won’t require a trip to the specialty tool store.
Your Step-by-Step Guide to Toilet Flapper Replacement
Alright, it’s time to roll up our sleeves and get this done! This is a classic DIY plumbing project that’s incredibly satisfying once completed. Even if you’re a beginner, we’ll walk you through each step.
Step 1: Preparing for the Toilet Flapper Replacement
Preparation is key to any successful DIY project, and toilet flapper replacement is no exception. This step ensures a clean, dry, and safe working environment.
- Turn off the Water Supply: This is perhaps the most crucial first step. Locate the small shutoff valve behind or underneath your toilet, usually where the water supply line connects to the toilet tank. Rotate the handle clockwise until the water flow stops completely. This prevents the tank from refilling while you’re working.
- Drain the Tank: Once the water supply is off, flush the toilet. Hold the flush handle down until as much water as possible drains from the tank into the bowl. Don’t worry if a small amount of water remains at the very bottom of the tank; that’s normal.
- Sponge Out Excess Water: Use your sponge to soak up any leftover water in the tank. Wring it out into the toilet bowl or a bucket. This ensures you’re working in a mostly dry environment, making it easier to clean the flush valve seat and attach the new flapper. Having a dry tank also allows you to clearly see the components you’ll be working with.
Step 2: Removing the Old Flapper
With the tank empty, removing the old flapper is straightforward.
- Disconnect the Chain: The flapper is connected to the flush lever (the arm inside the tank that moves when you press the toilet handle) by a small chain. Unclip this chain from the lever. It’s usually a simple hook or clip mechanism.
- Unhook the Flapper: Toilet flappers are typically attached in one of two ways:
- Ears/Pegs: Most common flappers have two “ears” or loops on either side that slide onto small pegs or posts extending from the flush valve tube at the bottom of the tank. Gently pull the flapper’s ears off these pegs.
- Pipe Adaptor Ring: Some flappers, especially universal ones or those for specific models, might have a ring that slides down over the overflow tube (the tall plastic tube in the center of the tank). If this is the case, simply slide the old flapper up and off the overflow pipe.
- Inspect and Clean the Flush Valve Seat: Once the old flapper is removed, take a moment to inspect the flush valve seat—the rim at the bottom of the tank where the flapper rests. This area needs to be clean and smooth for the new flapper to form a proper seal. Use a clean rag or the rough side of your sponge to wipe away any grime, mineral deposits, or residue. A clean seat is vital to prevent future leaks!
Step 3: Installing the New Flapper
Now for the exciting part – putting in the new flapper!
- Attach the New Flapper: Just like removal, installation depends on your flapper type:
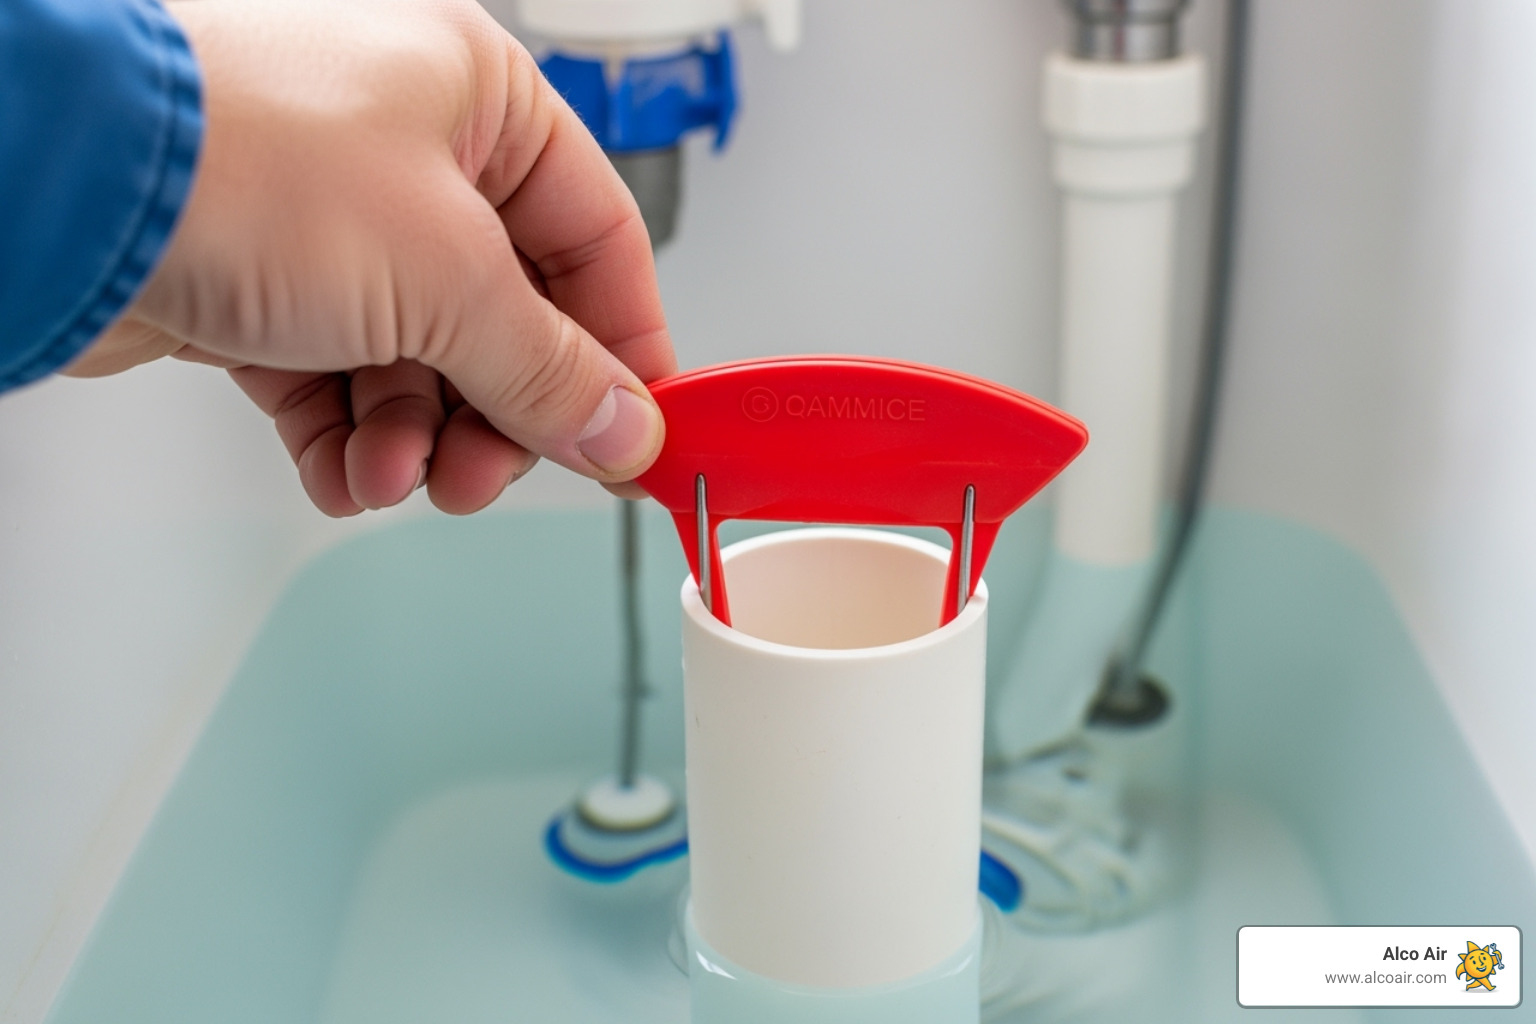
- Ears/Pegs: Align the new flapper’s “ears” with the pegs on the flush valve tube. Gently push them onto the pegs until they snap or slide securely into place.
- Pipe Adaptor Ring: If your new flapper uses a pipe adaptor ring, slide it down over the overflow tube until the flapper rests flush on the flush valve seat.
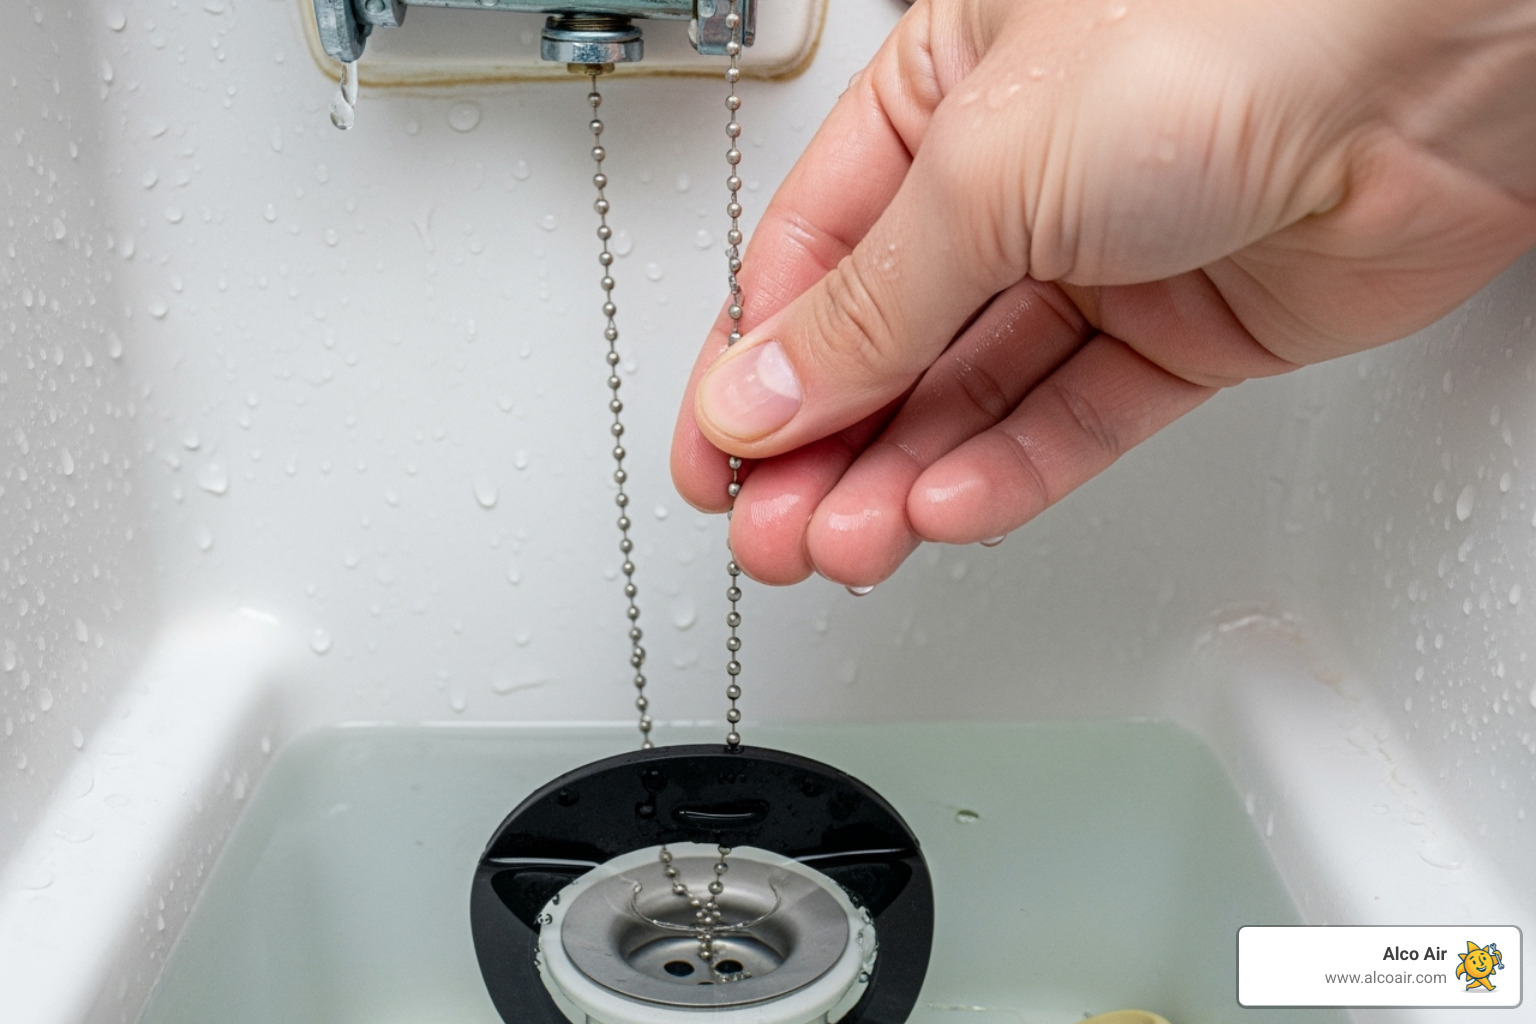
- Connect the Chain to the Lever: Reattach the new flapper’s chain to the flush lever arm. This is where getting the right slack is crucial. The chain should be relaxed with a little slack when the flapper is seated and the handle is at rest. We recommend leaving about 1/2 inch of slack, or one to two chain links. If the chain is too tight, it can prevent the flapper from closing completely, causing a continuous leak. If it’s too loose, it might not lift the flapper enough for a full flush or could get caught under the flapper, also leading to leaks. You might need to use your scissors or wire cutters to adjust the chain length.
Step 4: Final Adjustments After Your Toilet Flapper Replacement
You’re almost there! These final steps ensure everything is working perfectly.
- Turn the Water Back On: Slowly open the shutoff valve behind the toilet by turning it counter-clockwise. Listen for the tank to begin refilling.
- Test the Flush: Once the tank is full, give your toilet a good flush. Observe carefully:
- Does the flapper lift fully?
- Does it fall back down and seal properly after the flush?
- Does the toilet stop running once the tank is refilled?
- Listen for any sounds of continuous running water.
- Check for Leaks: Visually inspect the flush valve seat and the area around the flapper to ensure there are no drips or trickles.
- Adjust Chain Tension (if needed): If the toilet is still running, the chain might be too tight. Try adjusting it to have a bit more slack. If the flush is weak, the chain might be too loose or getting caught; try tightening it slightly or ensuring it hangs freely.
- Fine-Tune Adjustable Flappers: If you installed an adjustable universal flapper, you might want to experiment with its settings. These flappers often have a dial or band that controls how long the flapper stays open, influencing the amount of water released per flush. You can adjust this to optimize your toilet’s water usage for a strong, efficient flush. For instance, if your toilet is double flushing, try adjusting the dial to a lower number.
Troubleshooting and Maintenance Tips
Let’s be honest – sometimes even the best toilet flapper replacement job can have a few quirks that need ironing out. Don’t worry, we’ve all been there! The good news is that most post-installation issues are simple fixes that take just a few minutes to resolve.
The most common culprit? That little chain we talked about. If your toilet is still running after you’ve installed your shiny new flapper, the chain is probably too tight and preventing a proper seal. On the flip side, if your toilet seems to have lost its flushing power, the chain might be too loose, not giving the flapper enough lift.
Another issue you might encounter is the mysterious “double flush” – where your toilet decides to flush twice on its own like it’s showing off. This usually happens when the flapper stays open too long or releases too much water at once. If you installed an adjustable flapper, tweaking those internal settings can solve this problem quickly.
Sometimes the flapper itself might not be sitting quite right on the flush valve seat. This can happen if there’s still some debris on the seat or if the flapper got slightly twisted during installation. A quick inspection and gentle repositioning usually does the trick.
For additional insights on addressing leaky toilets, resources like How To Replace a Leaky Toilet Flapper – Walnut Valley Water District can be helpful, though our guide covers everything you need for a successful repair.
How to Adjust a Flapper for a Perfect Seal
Getting that chain adjustment just right is like finding the sweet spot on your favorite chair – once you nail it, everything works perfectly. The magic number you’re aiming for is about 1/2 inch of slack in the chain when your flapper is resting comfortably on the flush valve seat.
Think of it this way: when the toilet handle is at rest, that chain should have just enough slack to form a gentle curve – roughly one to two chain links worth of wiggle room. You don’t want it hanging like a loose necklace, but you definitely don’t want it pulling tight like a guitar string either.
Here’s the key principle: there should be zero tension on that chain when the flapper is closed. Even the slightest pull can lift the flapper just enough to break the seal, turning your toilet into a water-wasting machine that runs constantly.
Make sure the chain hangs freely without getting caught under the flapper itself. When everything’s adjusted properly, your flapper will drop down smoothly and sit squarely on the flush valve seat, creating that perfect watertight seal that keeps your toilet quiet and your water bill reasonable.
How to Prolong Your Flapper’s Life
Your new flapper is ready to serve you faithfully for years to come, but a little TLC can help it reach its full potential. Think of these tips as preventive medicine for your toilet!
The biggest flapper killer lurking in many homes? Those convenient drop-in bleach tablets that sit in your toilet tank. While they seem like a great set-it-and-forget-it cleaning solution, they’re actually harsh chemical time bombs for rubber flappers. The bleach and other chemicals cause the rubber to become brittle, crack, or warp – sometimes cutting your flapper’s lifespan in half.
Instead, stick with in-bowl cleaners that you apply directly to the toilet bowl. They’ll keep your toilet sparkling clean without exposing your flapper to damaging chemicals. Your flapper will thank you by lasting much longer.
Regular inspection is your friend here. Every few months, take a quick peek inside your toilet tank – it takes less than 30 seconds. Look for any signs that your flapper is getting tired: cracks, stiffness, or changes in color. While you’re there, give that chain a quick glance to make sure it’s still hanging at the right length and isn’t getting tangled up.
If you have hard water or well water, mineral buildup can gradually affect your flapper’s performance. A gentle cleaning of the flush valve seat during your regular inspections can prevent problems before they start.
For more comprehensive advice on keeping your entire plumbing system in great shape, our 5 Plumbing Maintenance Tips Every Longview, TX Homeowner Should Know guide has you covered.
Frequently Asked Questions about Toilet Flapper Replacement
We get these questions all the time from homeowners who are ready to tackle this straightforward repair. Let’s explore the answers that’ll help you feel confident about your toilet flapper replacement project!
How much does it cost to replace a toilet flapper?
Here’s the beauty of DIY toilet flapper replacement – it’s incredibly budget-friendly! You’re looking at a pretty small investment for the flapper itself, typically ranging from a few dollars for a basic model up to around twenty dollars for a premium, adjustable universal flapper. The exact price depends on whether you choose a standard flapper, a universal model, or a brand-specific replacement.
When you handle the job yourself, that flapper cost is your only expense. Pretty sweet deal, right?
If you decide to call in a professional plumber, you’ll naturally pay for their expertise, travel time, and labor on top of the part cost. While we can’t quote specific numbers, most homeowners find the savings from doing this repair themselves to be quite substantial – especially considering how straightforward the process really is.
How long should a toilet flapper last?
A quality toilet flapper should serve you well for five to ten years on average. But here’s the thing – several factors can either extend or shorten that lifespan significantly.
Water quality plays a huge role in your flapper’s longevity. If you have hard water loaded with minerals, those deposits can build up and make your flapper stiff over time. High chlorine levels in municipal water supplies can also break down rubber materials faster than you’d expect.
Chemical use is another major factor. Remember those convenient drop-in bleach tablets we warned you about earlier? They’re absolute flapper killers, often cutting the lifespan in half or more. The harsh chemicals simply eat away at the rubber material.
Usage frequency matters too. A toilet that gets flushed dozens of times daily in a busy family bathroom will naturally wear out its flapper faster than one in a rarely-used guest powder room.
The material quality of your chosen flapper also makes a difference. Higher-end flappers designed to resist chlorine damage and hard water deposits will typically outlast basic models by several years.
What happens if a toilet flapper is not replaced correctly?
While toilet flapper replacement is genuinely one of the simpler plumbing repairs, getting the details wrong can create some frustrating and costly problems down the road.
Persistent leaks are the most common issue when installation isn’t quite right. Whether it’s an improperly seated flapper, incorrect chain tension, or a dirty flush valve seat, water will keep trickling from your tank into the bowl. That annoying sound of a running toilet? Yeah, that’s your cue that something needs adjustment.
This leads directly to wasted water and climbing utility bills. Even a small, seemingly harmless leak can waste hundreds or even thousands of gallons over time. Your water meter doesn’t care that it’s “just a little leak” – it’s still counting every drop that flows through.
Weak or incomplete flushes are another telltale sign of improper installation. When the flapper doesn’t lift fully or stay open long enough, you’ll find yourself flushing multiple times to clear the bowl. This usually happens when the chain is too loose or gets caught during the flush cycle.
On the flip side, you might experience double flushing, where your toilet automatically flushes twice in a row. This typically occurs when the flapper opens too wide or stays open too long, often due to incorrect settings on adjustable universal flappers.
Beyond these immediate annoyances, incorrect installation can cause damage to other toilet components. A constantly running toilet puts extra strain on your fill valve, potentially shortening its lifespan. The continuous water flow can even contribute to mold or mildew issues around your toilet base over time.
The good news? Taking just a few extra minutes to ensure proper installation and make those final adjustments will save you plenty of headaches and money in the long run!
When to Call a Professional for Your Plumbing Needs
Congratulations! If you’ve made it this far and successfully completed your toilet flapper replacement, you’ve just saved yourself money while gaining valuable DIY skills. There’s something incredibly satisfying about fixing a running toilet with your own two hands, isn’t there? You’re also doing your part for water conservation, which is a win for both your wallet and the environment.
But let’s be honest – sometimes plumbing has a way of throwing us curveballs. Maybe you’ve followed every step perfectly, but your toilet is still making that annoying running sound. Perhaps you finded additional issues while working in the tank, like a cracked flush valve or problems with the fill valve. Or maybe you’re dealing with persistent leaks that seem to have a mind of their own.
When plumbing problems go beyond a simple flapper replacement, it’s perfectly okay to call in the experts. Complex issues like recurring clogs, multiple toilet problems, or leaks that won’t quit despite your best efforts often require professional diagnosis and repair. Sometimes what appears to be a flapper problem is actually a symptom of a larger plumbing issue.
At Alco Air, we’ve been helping homeowners in Longview, Texas tackle their plumbing challenges for over 30 years. Our NATE-certified technicians have seen it all – from simple repairs that just need a professional touch to complex installations that require specialized knowledge and tools. We understand that not every homeowner wants to become a DIY plumber, and that’s perfectly fine!
What sets us apart is our commitment to your complete satisfaction. We back our work with a 100% money-back guarantee because we believe you deserve plumbing that works reliably. Plus, our VIP Club members enjoy premium care and priority service for those times when plumbing problems just can’t wait.
If you’re wondering whether your plumbing issue is something you can handle yourself or if it’s time to bring in professional help, our guide on 5 Signs You Need to Call a Plumber can help you make that decision. For persistent leaks or more complex plumbing problems that go beyond a simple toilet flapper replacement, explore our comprehensive Plumbing Services.
There’s no shame in knowing your limits. Whether you’re a confident DIYer or someone who prefers to leave plumbing to the professionals, we’re here to help ensure your home’s plumbing runs smoothly and efficiently.


