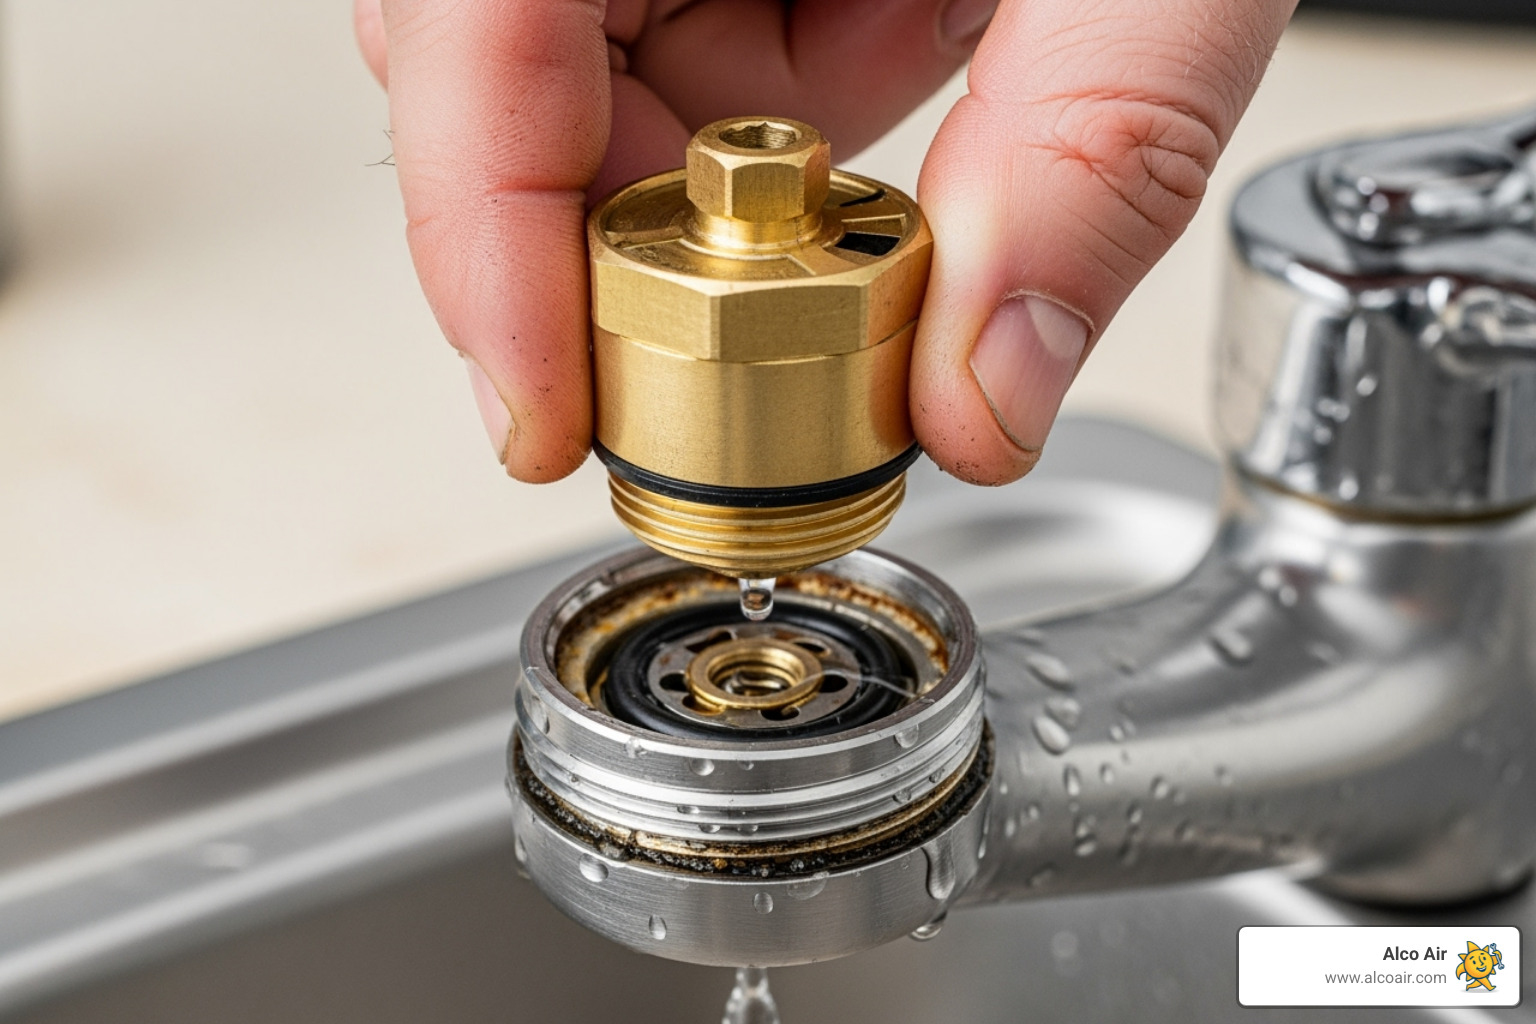
Why That Annoying Drip Can’t Wait
Leaky faucet repair is one of the most common plumbing issues homeowners face, and that constant drip, drip, drip isn’t just annoying – it’s costing you money every single day.
Quick Fix Summary for Leaky Faucets:
- Turn off water supply – Find shutoff valves under sink
- Identify faucet type – Compression, cartridge, ball, or ceramic disk
- Replace worn parts – Usually washers, O-rings, or cartridges
- Reassemble and test – Turn water back on slowly
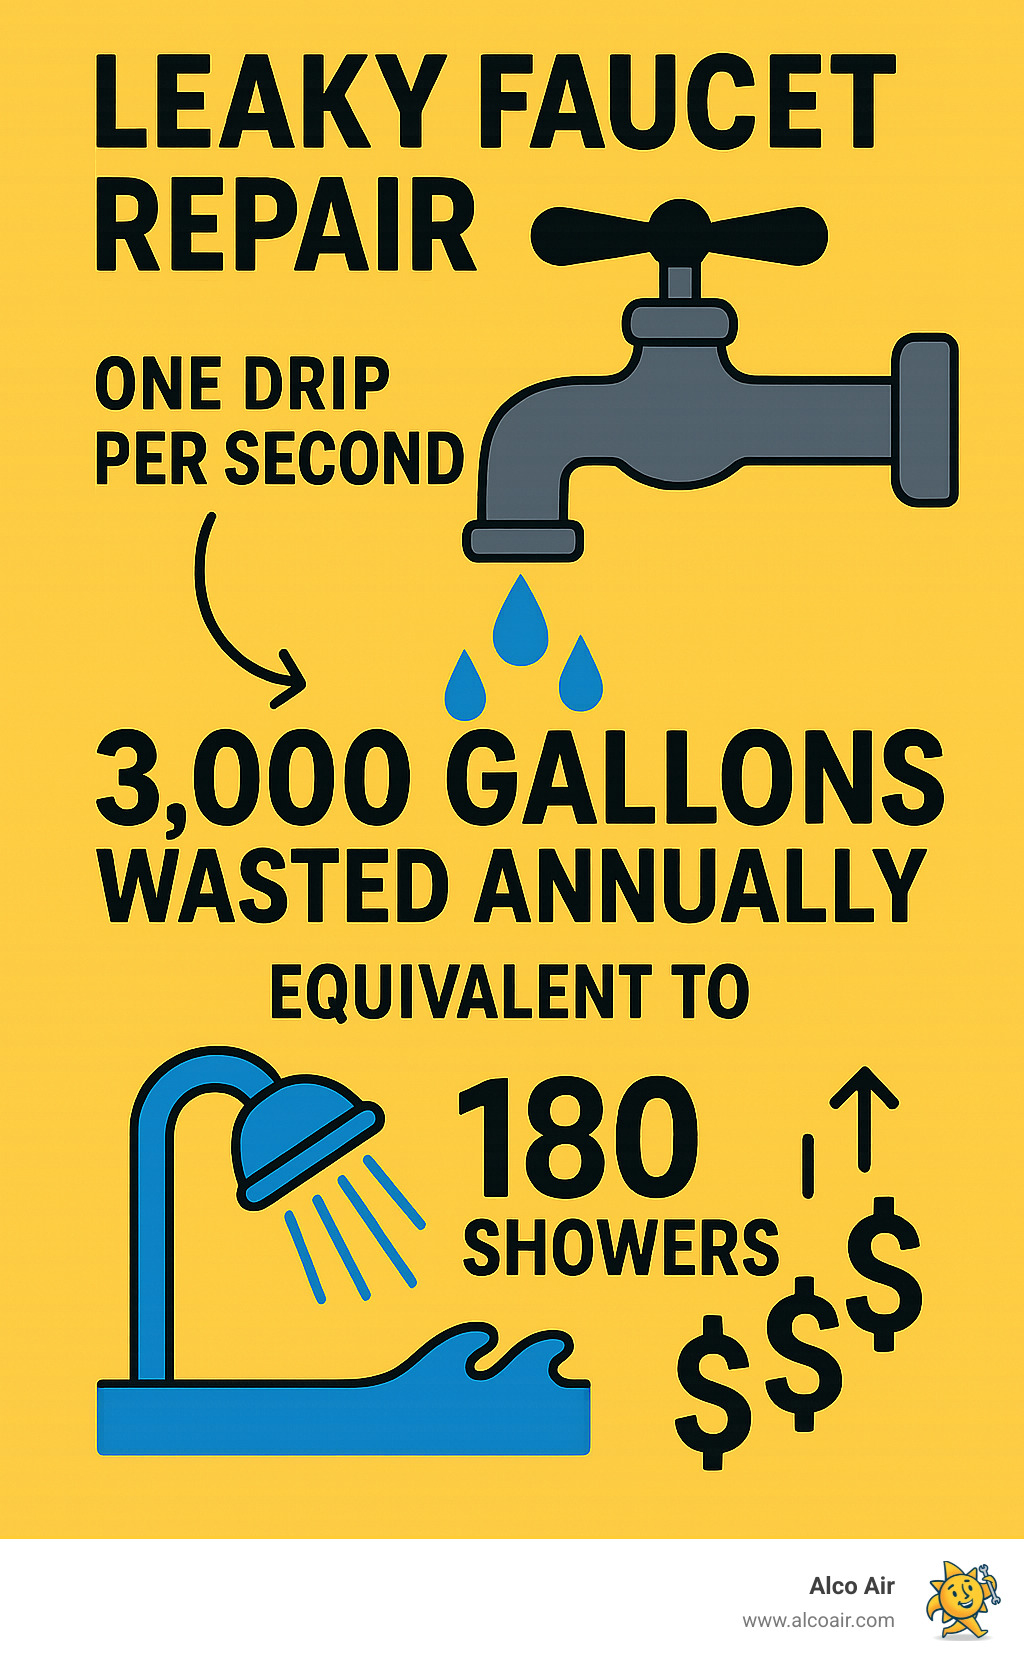
A single faucet dripping once per second wastes over 3,000 gallons per year – enough water for 180 showers. Beyond the water waste, that persistent drip can lead to water damage around your sink, promote mold growth, and even attract pests to the pooled water.
The good news? Most faucet leaks are caused by worn internal parts that cost just a few dollars to replace. With basic tools and a little patience, you can silence that drip and start saving money on your water bill immediately.
Whether you’re dealing with a kitchen sink that won’t stop dripping or a bathroom faucet that’s keeping you awake at night, this guide will walk you through identifying your faucet type and making the right repairs. For more complex plumbing issues, check out our guide on repairing hidden plumbing leaks.
Before You Begin: Gathering Tools and Prepping Your Workspace
Nothing’s more frustrating than getting halfway through a leaky faucet repair only to realize you’re missing the one tool you need! Trust me, I’ve been there – standing in the hardware store with wet hands and a disassembled faucet waiting at home.
The good news is that most faucet repairs require basic tools you probably already have in your toolbox. Let’s get everything ready so you can tackle this repair like a pro.
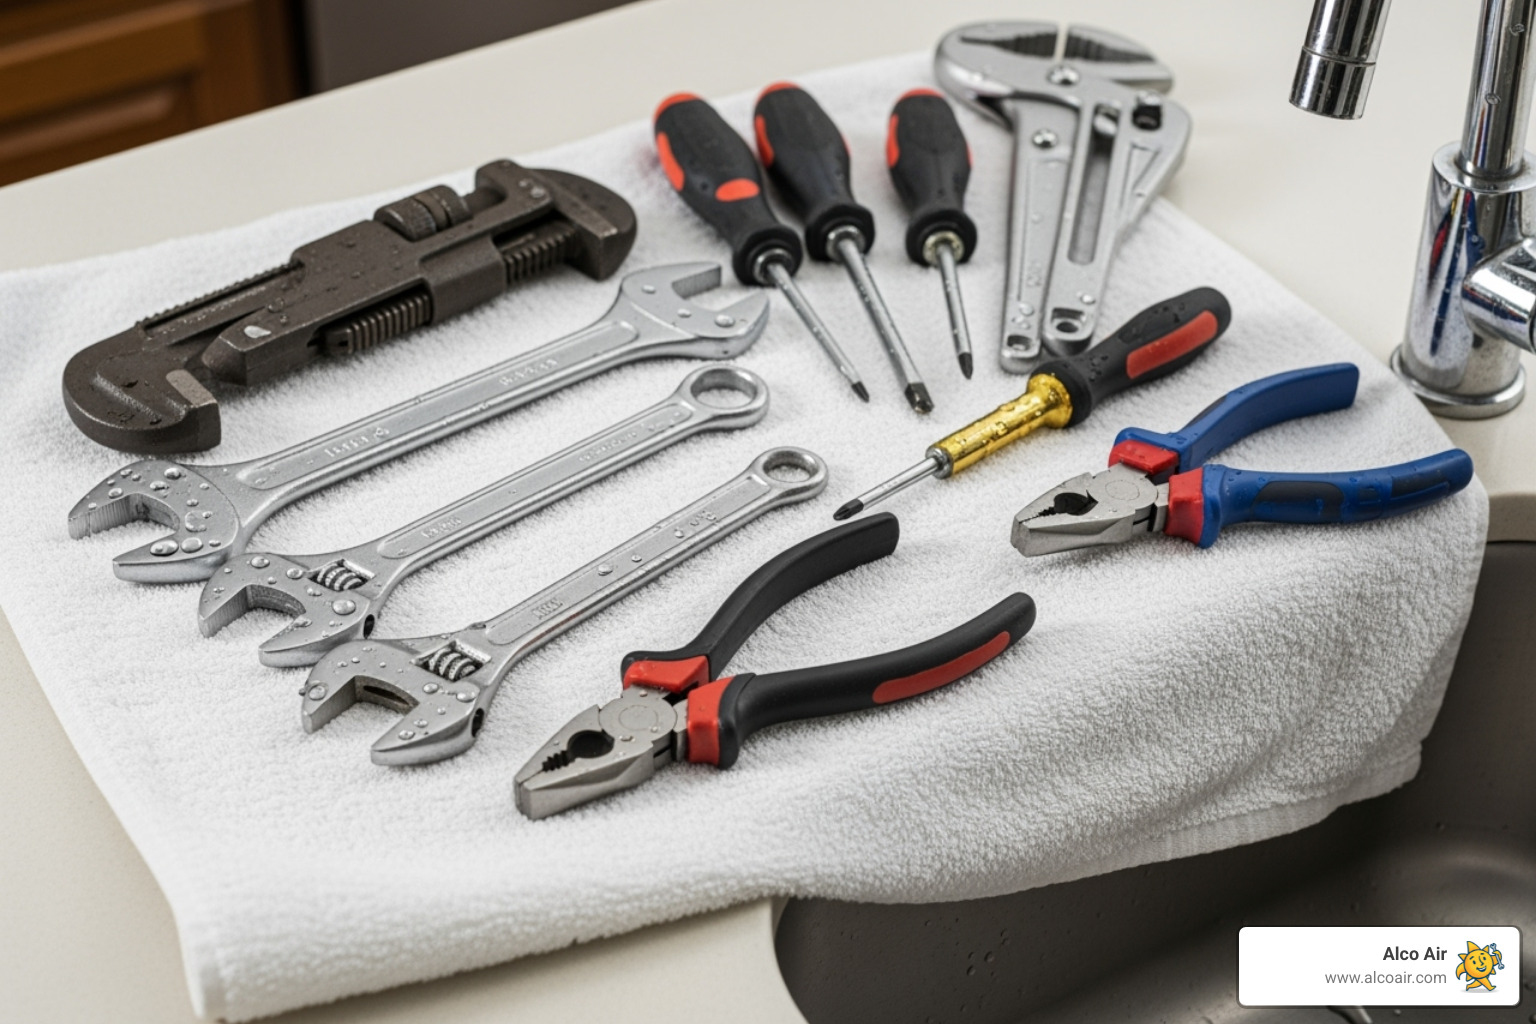
Your adjustable wrench is the star of the show here – it’ll handle most of the nuts you’ll need to loosen and tighten. You’ll also want both Phillips and flathead screwdrivers in various sizes, plus a hex key set for those sneaky set screws that love to hide.
Pliers (both slip-joint and needle-nose) are your best friends for gripping small parts, while rags or towels protect your workspace and catch any water that decides to make an escape. Here’s a pro tip: lay that towel down before you start – your future self will thank you.
The most important items are your replacement parts. Whether it’s washers, O-rings, or a whole new cartridge, make sure these match your faucet perfectly. When in doubt, take the old part to the hardware store – the staff there are usually happy to help you find the right match.
Don’t forget plumber’s grease (the non-toxic, silicone kind) to keep everything moving smoothly. If you’re dealing with an older faucet, penetrating oil can be a lifesaver for stuck parts, and masking tape will protect your faucet’s finish from scratches.
How to Shut Off the Water Supply
Here’s where we prevent your repair project from turning into an impromptu water park! Skipping this step is like trying to change a tire while the car’s still moving – technically possible, but not recommended.
Start by looking under your sink for two small shutoff valves on the supply lines. Turn both of these clockwise until they’re completely closed – one controls hot water, the other cold. These little valves are your first line of defense against unwanted water surprises.
Once you think you’ve got them closed, test your work by turning on the faucet. If water still flows, either the valves aren’t fully closed or it’s time to find your main water shutoff valve. This master switch is usually hiding in your basement, crawl space, or utility closet. Some homes have it outside near the water meter.
After shutting off the water, open the faucet you’re working on to drain any leftover water from the pipes. This relieves pressure and prevents that annoying water spillage when you start taking things apart.
Here’s a simple step that’ll save you major headaches: plug that sink drain with a stopper or rag. Trust me, watching a tiny screw disappear down the drain is not the kind of excitement you want during this project.
Identifying Your Faucet Type
This is where many DIYers get stuck, but don’t worry – once you know what you’re dealing with, the rest becomes much clearer. Think of this as getting to know your faucet’s personality before you start the repair conversation.
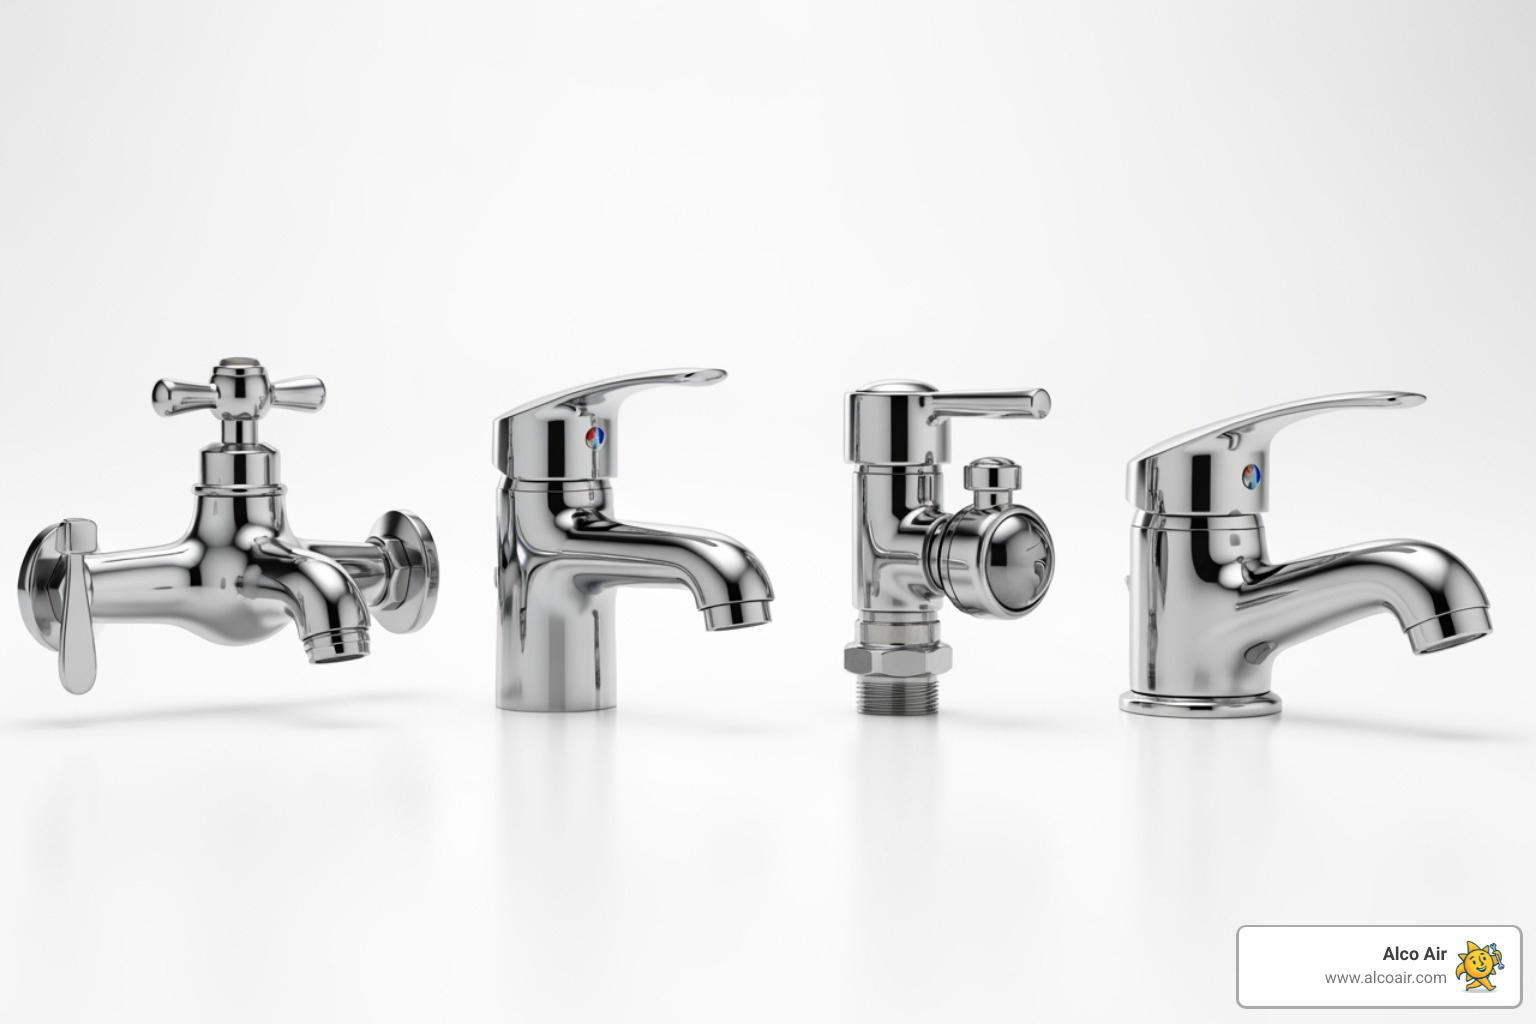
Compression faucets are the old-school, two-handled types that your grandparents probably had. They work by squashing a rubber washer against a valve seat to stop water flow. If you have separate hot and cold handles, you’re likely dealing with a compression faucet. The usual suspects for leaks here are worn-out rubber washers, damaged O-rings, or a corroded valve seat.
Cartridge faucets can fool you because they come in both single and double-handle varieties. These use a cylindrical cartridge that moves up and down to control flow. Single-handle versions typically lift up for more water and swivel side-to-side for temperature control. When these leak, it’s usually because the cartridge itself is worn out or the O-rings around it have given up.
Ball-type faucets are easy to spot – they have a single handle that moves in all directions over a rotating ball mechanism. You’ll often find these in kitchens. These faucets have lots of small parts (O-rings, rubber seats, and springs), and any of these little components can cause leaks.
Ceramic disk faucets represent the newer generation of faucet technology. These single-handle faucets are built to last, using two ceramic disks that slide against each other to control water flow. When they do leak, it’s typically due to cracked ceramic disks, damaged seals, or mineral buildup that’s preventing proper operation.
Knowing your faucet type is like having the right key – it open ups the specific repair strategy you’ll need to silence that annoying drip for good.
Your Step-by-Step Leaky Faucet Repair Guide
Now comes the fun part! With your tools ready and water shut off, it’s time to get your hands dirty with some actual leaky faucet repair. Don’t worry – we’ll walk you through each type step by step. Here’s a pro tip: take photos as you disassemble parts. Trust me, your future self will thank you when it’s time to put everything back together!
Identifying the Specific Part That Needs Replacement
Before diving in with your wrench, let’s play detective for a moment. Where exactly is that pesky water coming from? This little investigation can save you time and point you toward the right fix.
If water drips from the spout, you’re looking at worn internal parts that control the flow. In compression faucets, this usually means a tired rubber washer or a valve seat that’s seen better days. For cartridge, ball, or ceramic disk faucets, it’s often a worn O-ring or the entire cartridge assembly calling it quits.
When water seeps from around the handle base, especially when the faucet is turned on, you’ve got seal problems. This typically points to worn O-rings or a loose packing nut that needs some attention.
The usual suspects in most faucet leaks include worn washers that have hardened and cracked over time, damaged O-rings that have lost their flexibility, a faulty cartridge that’s given up the ghost, or a corroded valve seat that’s been battling mineral deposits for years. Sometimes it’s even simpler – just a loose connection that needs tightening.
How to Fix a Compression Faucet
Ah, the classic! These two-handled workhorses are often found in older homes, and they’re actually pretty forgiving for first-time fixers. Think of this as your gateway into plumbing repairs.
Start by removing the handle – look for that decorative cap on top (it’s usually hiding the screw like a tiny hat). Pop it off gently with a flathead screwdriver, unscrew what’s underneath, and pull the handle off. If it’s being stubborn, a little penetrating oil works wonders.
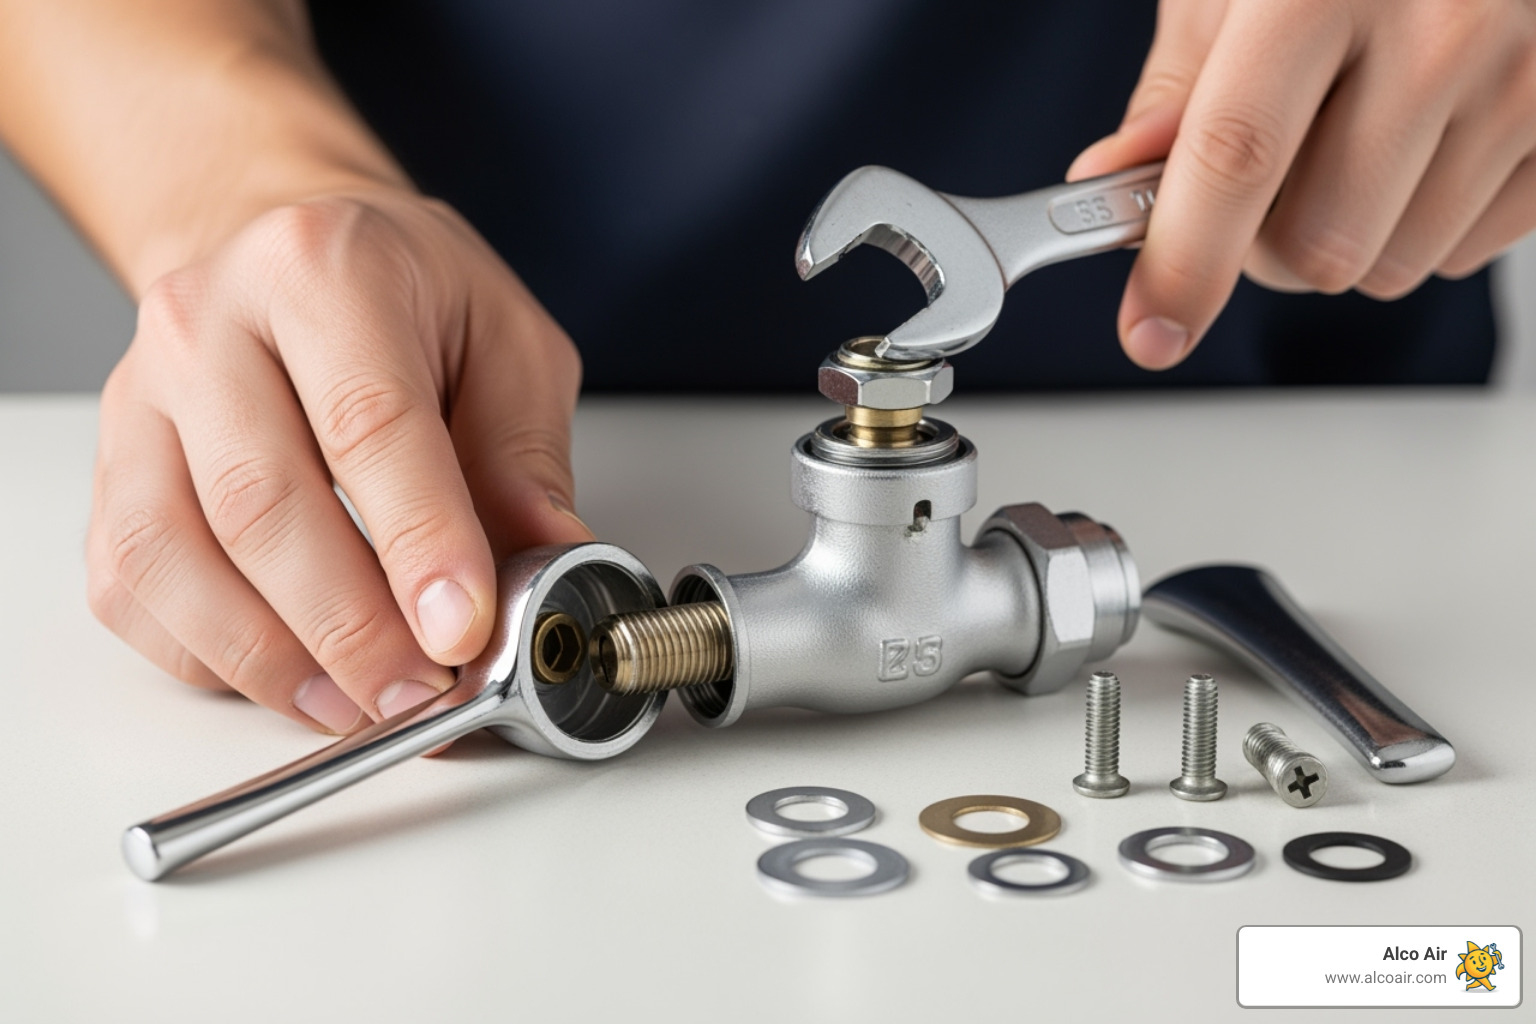
Next, you’ll tackle the packing nut – that hex-shaped nut sitting beneath where the handle was. Use your adjustable wrench, but be gentle here. We’re fixing things, not creating new problems! Once that’s off, the stem usually unscrews by hand or with pliers.
Here’s where the magic happens: at the bottom of the stem, you’ll find a small rubber washer held by a screw. This little guy is often the culprit behind your dripping woes. Replace that washer with an identical new one, and give it a light coating of plumber’s grease while you’re at it.
Don’t forget to check for an O-ring on the stem shaft. If it looks cracked or worn, swap it out too. While you’re down there, peek at the valve seat in the faucet body. If it’s corroded or pitted, you might need a valve-seat dresser tool to smooth things out.
Reassemble everything in reverse order, turn the water back on slowly, and test your handiwork. A little celebration dance is totally acceptable at this point!
How to Fix a Cartridge Faucet
Cartridge faucets are like the Swiss Army knives of the faucet world – efficient and popular, but when they act up, it’s usually the whole cartridge that needs replacing.
Removing the handle can be a bit of a treasure hunt. Single-handle versions often hide a set screw on the side or back under a decorative cap. Once you find it, loosen it with a hex key and pull that handle right off.
The cartridge is held in place by either a retaining clip (looks like a small metal pin) or a nut. Remove the clip with needle-nose pliers or unscrew the nut – whatever’s keeping your cartridge prisoner.
Now for the main event: pull out that old cartridge straight up and out. If it’s stuck, gentle wiggling with pliers usually does the trick. Pay attention to how it’s oriented – some cartridges are picky about alignment.
While you’ve got everything apart, take a peek at any O-rings inside the faucet body. If they look worn, replace them and give the new ones a light coating of plumber’s grease.
Insert your new cartridge, making sure it’s aligned correctly, then secure it with the clip or nut. Reattach the handle, turn the water back on, and test both hot and cold. For a visual guide, check out this helpful video: What is a faucet cartridge and how is it replaced?
How to Fix Ball-Type and Ceramic Disk Faucets
These are the more sophisticated members of the faucet family, and they sometimes need specialized tools or a bit more patience. But don’t let that intimidate you!
Ball-type faucets are single-handle units with a rotating ball mechanism. They’re like tiny mechanical puzzles with lots of small parts. After removing the handle (usually with a hex key), you’ll remove the cap and collar with pliers, then carefully lift out the cam, cam washer, and rotating ball.
The real troublemakers here are usually the rubber seats and springs deep inside the faucet body. Use needle-nose pliers to fish out the old ones and replace them with new parts from a repair kit. Replacing the cam assembly might also be necessary if it’s worn.
Ceramic disk faucets are the luxury cars of faucets – built to last but requiring special attention when they do need repair. After removing the handle and escutcheon cap, you’ll lift out the disk cylinder to access the neoprene seals.
Cleaning mineral buildup from the ceramic disks is crucial – use distilled white vinegar and a soft scouring pad. If the ceramic disks themselves are cracked, you’ll need to replace the entire cylinder assembly.
Both types require careful reassembly and gentle testing. Take your time, and remember – even experienced plumbers sometimes need a second try with these more complex mechanisms!
Troubleshooting, Prevention, and When to Call a Pro
Even with the best guide and good intentions, leaky faucet repair doesn’t always go perfectly. Maybe a part is more stubborn than expected, or you find damage that’s beyond a simple fix. Don’t worry – it happens to the best of us! Let’s talk about when things get tricky and how to know your limits.
When to Consider Replacing the Entire Faucet
Sometimes the most honest answer is that your faucet has served its time. We’ve all been there – you start what seems like a simple repair only to find you’re dealing with something much bigger.
Severe corrosion or rust is often the first sign it’s time to move on. When internal parts are heavily corroded or the faucet body itself is rusting through, any repairs you make will likely be temporary at best. It’s like putting a band-aid on a broken dam.
Obsolete models with no available parts can turn a weekend project into a months-long treasure hunt. If you’re dealing with a vintage faucet from a company that went out of business decades ago, finding replacement parts can be nearly impossible – and expensive when you do find them.
Consider the cost of multiple repairs versus a new faucet too. If you’ve replaced the cartridge twice this year and you’re still dealing with leaks, it might be time to cut your losses. Sometimes throwing good money after bad just doesn’t make sense.
And honestly, sometimes a leak is just the perfect excuse for that kitchen or bathroom upgrade you’ve been dreaming about! A new faucet can completely transform the look of your space. For comprehensive kitchen updates, our kitchen plumbing services can help you get everything working perfectly.
Preventative Measures to Avoid Faucet Leaks
The best leak is the one that never happens in the first place. A little attention now can save you from dealing with that annoying drip later.
Regularly cleaning your aerator is one of those simple tasks that makes a big difference. That little screen at the end of your faucet collects mineral deposits over time, which can affect water flow and create pressure issues that stress your faucet’s internal parts. Just unscrew it, rinse it clean, and screw it back on – takes two minutes.
Avoid excessive force on handles – this is probably the biggest mistake we see. Your faucet handles don’t need to be cranked shut like you’re closing a valve on a submarine. A gentle turn is all it takes, and being gentler will help your washers, O-rings, and cartridges last much longer.
Address small drips immediately rather than letting them “wait until the weekend.” Small problems have a funny way of becoming big problems when you ignore them. Plus, even a tiny drip is costing you money every day.
Check for mineral buildup regularly, especially if you live in an area with hard water. Those white, chalky deposits aren’t just unsightly – they can accelerate wear on your faucet’s moving parts. A little periodic cleaning goes a long way.
The EPA has excellent resources on water conservation and leak prevention. For more information, check out the EPA website’s ‘Fix a Leak Week’ article.
What Are the Consequences of Not Fixing a Leaky Faucet?
That innocent little drip might seem harmless, but ignoring it can lead to some surprisingly serious consequences. We’ve seen it all, and trust us – it’s always cheaper to fix the leak early.
The water waste statistics are pretty eye-opening. A faucet dripping once per second wastes over 3,000 gallons per year – that’s enough water for 180 showers! Even a slow drip adds up to hundreds of gallons annually.
All that wasted water shows up as increased utility bills every single month. What starts as a few extra dollars can quickly become a significant expense that dwarfs the cost of a simple repair.
Water damage to cabinets and floors is where things get really expensive. Constant moisture can warp wood, damage finishes, and even lead to structural problems. We’ve seen beautiful kitchen cabinets ruined by what started as a minor drip.
Mold and mildew health risks are serious concerns too. That pooled water creates the perfect breeding ground for nasty stuff that can cause respiratory issues, trigger allergies, and make your home smell musty. Nobody wants that.
And here’s something many people don’t think about – attracting pests. Cockroaches, ants, and even rodents are drawn to readily available water sources. Your leaky faucet is basically sending out invitations to unwanted houseguests.
The bottom line? Don’t let a small problem become a big headache. If you’re feeling overwhelmed or find the issue is more complex than expected, there’s no shame in calling for backup. Sometimes the smartest DIY move is knowing when to call a pro. Learn more about why professional help matters: 5 Crucial Reasons to Find Professional Help for Leak Repairs Today.
Frequently Asked Questions about Leaky Faucet Repair
After helping countless homeowners with leaky faucet repair over the years, we’ve noticed the same questions come up again and again. Let’s tackle the big ones that might be on your mind right now.
What is the most common cause of a leaky faucet?
Here’s the thing – it really depends on what type of faucet you have, but worn-out internal parts are almost always the culprit.
For compression faucets (those older two-handle models), it’s typically a rubber washer that has hardened, cracked, or just given up after years of faithful service. These little washers take a beating every time you turn the faucet on and off.
For cartridge, ball, or ceramic disk faucets, you’re usually looking at a worn O-ring or the entire cartridge assembly that needs replacing. These parts can deteriorate from regular use, mineral buildup from hard water, or simply the passage of time.
Don’t forget about corroded valve seats either – they’re sneaky troublemakers that prevent washers from sealing properly, even when the washer itself looks fine.
How much money can fixing a leaky faucet save?
This is where the numbers get really interesting! Fixing that annoying drip can save you up to 10 percent on your water bill. That might not sound like much until you realize what’s actually happening.
Remember our earlier statistic? A single faucet dripping just once per second wastes over 3,000 gallons per year. That’s not just water literally going down the drain – it’s money flowing right out of your wallet every single month.
When you add up those savings over time, you’ll be pleasantly surprised. Plus, you’ll sleep better without that constant drip, drip, drip keeping you awake!
Can I really fix a leaky faucet myself?
Absolutely! Most common faucet leaks are totally manageable DIY projects for homeowners with basic tools and a little patience. We’ve seen plenty of first-time DIYers successfully tackle these repairs.
The real keys to success are following a detailed guide (like this one!), correctly identifying your faucet type, and making sure you have the right replacement parts before you start. Taking photos as you disassemble things doesn’t hurt either – trust us on that one.
That said, we’re realistic about when DIY makes sense. If you run into severe corrosion, parts that are stuck beyond what some penetrating oil can handle, or you’re just not comfortable with the process, there’s no shame in calling a professional. Sometimes the peace of mind is worth it, and we’re always here to help when DIY isn’t the best option for your situation.
Your Drip-Free Home Awaits
Congratulations! You’ve just learned how to tackle leaky faucet repair like a pro. There’s something deeply satisfying about silencing that annoying drip with your own two hands – not to mention the money you’ll save on your water bill and the peace of mind knowing you’ve prevented potential water damage.
Most faucet leaks really are manageable DIY projects when you have the right guidance and a little patience. Whether you’re dealing with a worn washer in an old compression faucet or replacing a cartridge in a modern single-handle unit, these repairs typically cost just a few dollars in parts and can save you hundreds in wasted water over the course of a year.
But we also know that sometimes things don’t go according to plan. Maybe you finded extensive corrosion when you opened up that faucet, or perhaps those stubborn parts just won’t budge no matter how much penetrating oil you use. That’s completely normal, and there’s no shame in calling for backup.
If you’re in the Longview, Texas area and find yourself facing a complex plumbing issue, or if you simply prefer the peace of mind that comes with professional service, the experienced technicians at Alco Air are here to help. With over 30 years of experience and NATE-certified technicians, we’ve seen every type of faucet problem imaginable. Our 4.8-star Google rating reflects our commitment to getting the job done right the first time.
We can handle any faucet repair or replacement, ensuring your plumbing works perfectly. Plus, we back our work with a 100% money-back guarantee because we believe you should be completely satisfied with our service. For homeowners who want ongoing peace of mind, our VIP Club provides premium care and priority service.
Whether you’ve successfully completed your DIY repair or need professional assistance, you’re well on your way to a drip-free home. Contact us today for all your plumbing needs!


